Setup RetailPro Branch Server
Steps | Remarks | |
|---|---|---|
| 1 | Start the B1Prosuite Software Platform application if it is not already running. | |
| 2 | In the menu above, choose Packages > Applications . | |
| 3 | Select the BranchServer. Click in the bottom center on “Open” to enter the settings screen of the BranchServer. |
Make sure the application has the status Running before clicking the button. To start the application click the Start button in the bottom-left side of the screen. |
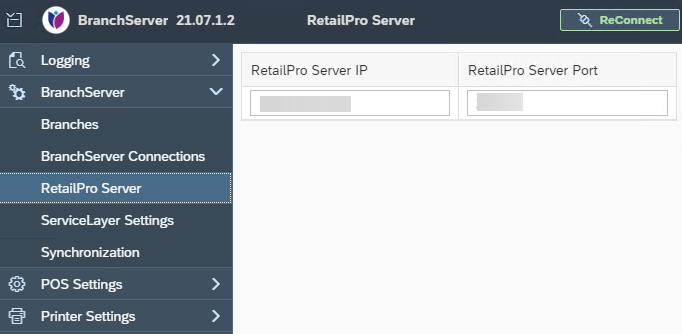
| 4 | Select Branchserver > RetailPro Server . | |
| 5 | Enter the IP Address and Port of the server where the RetailPro server application is running.  | |
| 6 | Configure RetailPro Addon | |
| 7 | Choose BranchServer > Branches and select which Branch the cash register should be linked to. |
These are the branches that you have defined in Store Settings via RetailPro SAP Business One Add-On. In some cases no Branches are visible. Please restart the RetailPro Branch Server package through B1 ProSuite Software Platform. |
| 8 | Select BranchServer > Synchronization and click on the “Start Sync” button. |
Now certain data from SAP Business One is synchronized with the cash register. How long this takes depends on the amount of data. This function is intended for initial use only. Do not use this on a live environment during working hours. When synchronization starts, the tables in the Branch Server will be truncated and filled with actual data from SAP Business One. |
| 9 | Choose BranchServer > BranchServer Connections to add a WebApp connection (ShowroomApp) and/or a SelfScanApp connection. |
On the RetailPro Server settings, enable a license to the new Branch server if it is not automatically accepted. |
After succesfully setting up the RetailPro Branch Server instance for your store, please continue to Point of Sale Client installation.
Also note that Users are created, authorized before they can use the Point of Sale application.
