
Selecting a customer
From Main Screen
You can select a customer in the main page top searchbar if store setting ‘Customer Select Option’ is set to values Main Optional or Main Mandatory (see Store Management Portal for more info) or by clicking the + icon on the bottom of the page (see Figure 1). For any other values of store setting ‘Customer Select Option’ except None you can select a customer by clicking the customer button on the right of the main page (see Figure 2). When store setting ‘Customer Select Option’ is set to None you are not able to select a customer at all.
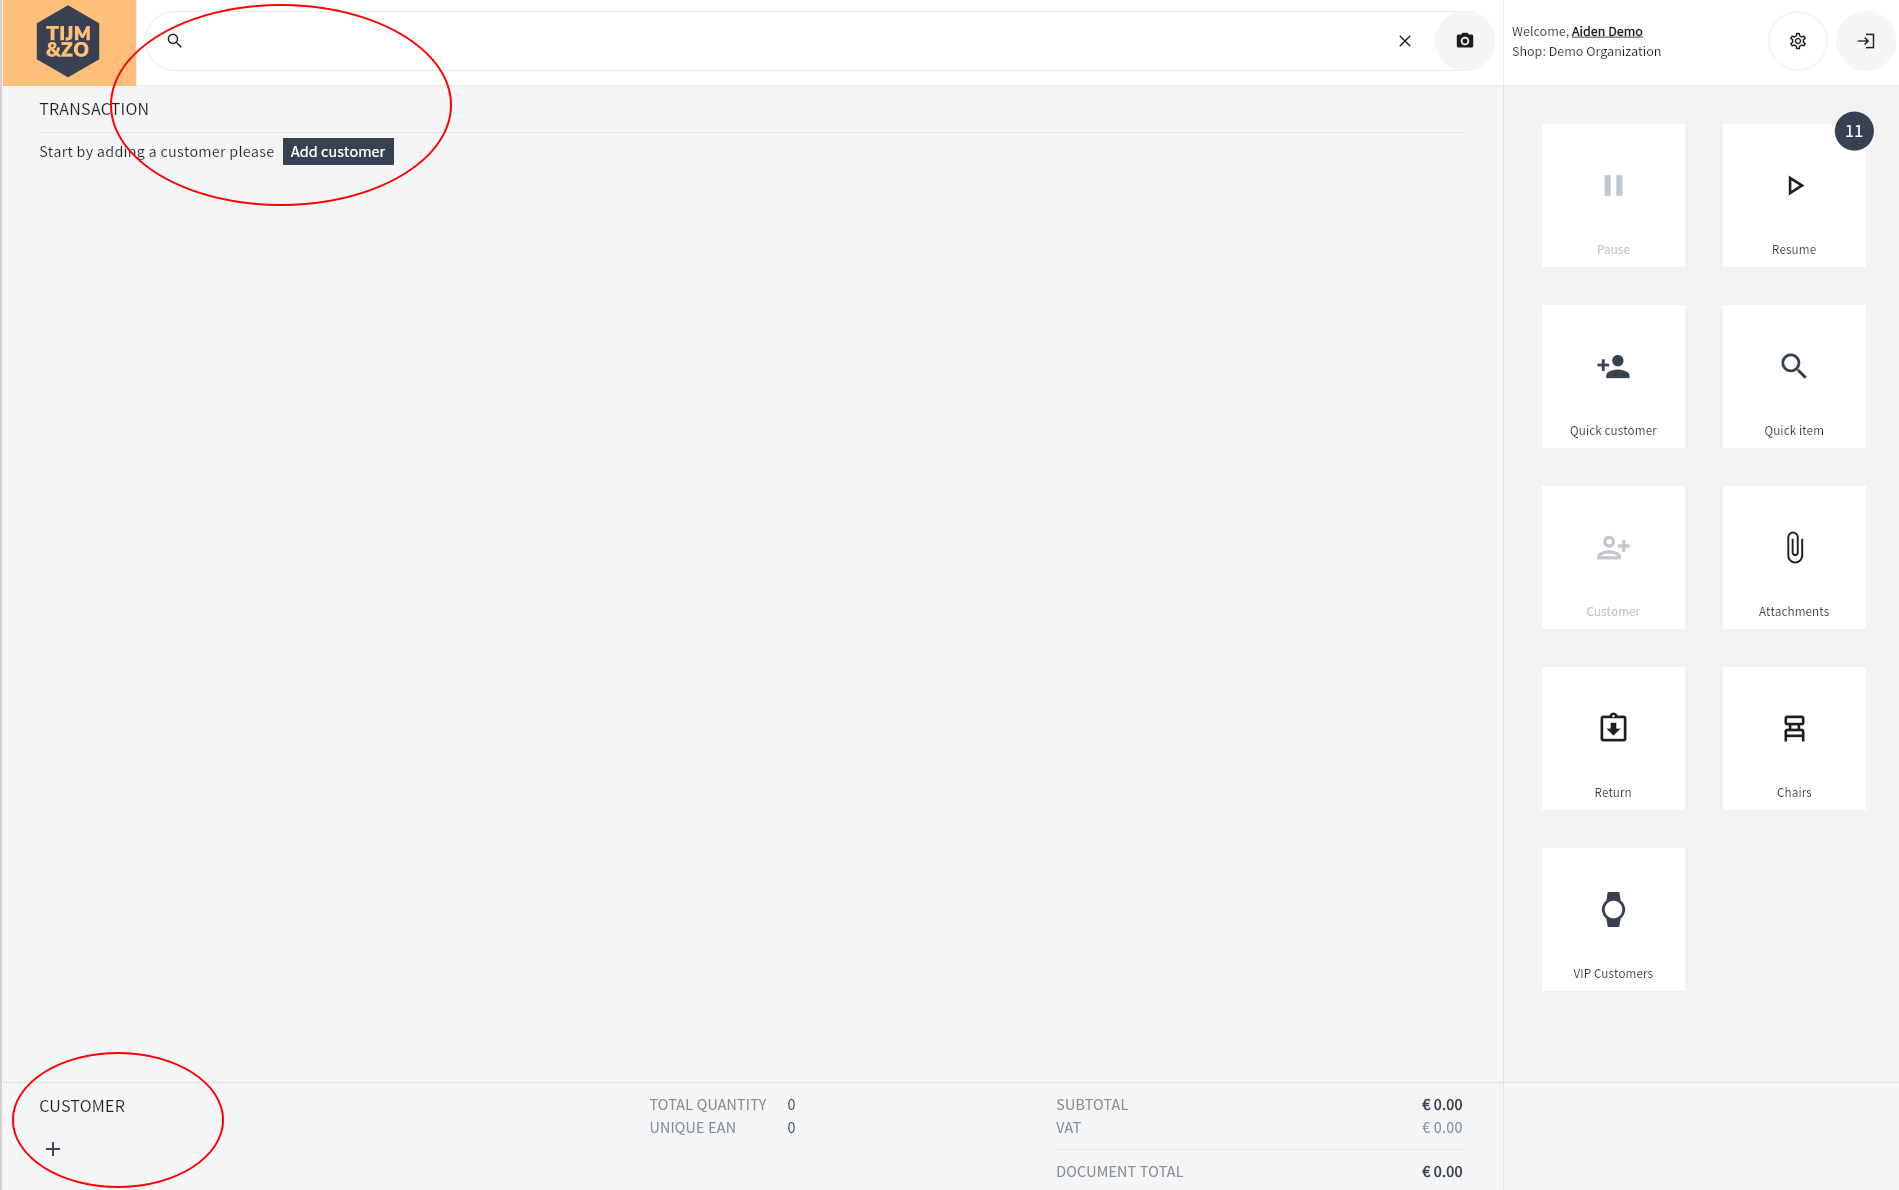
Figure 1: Selecting a customer from the main screen
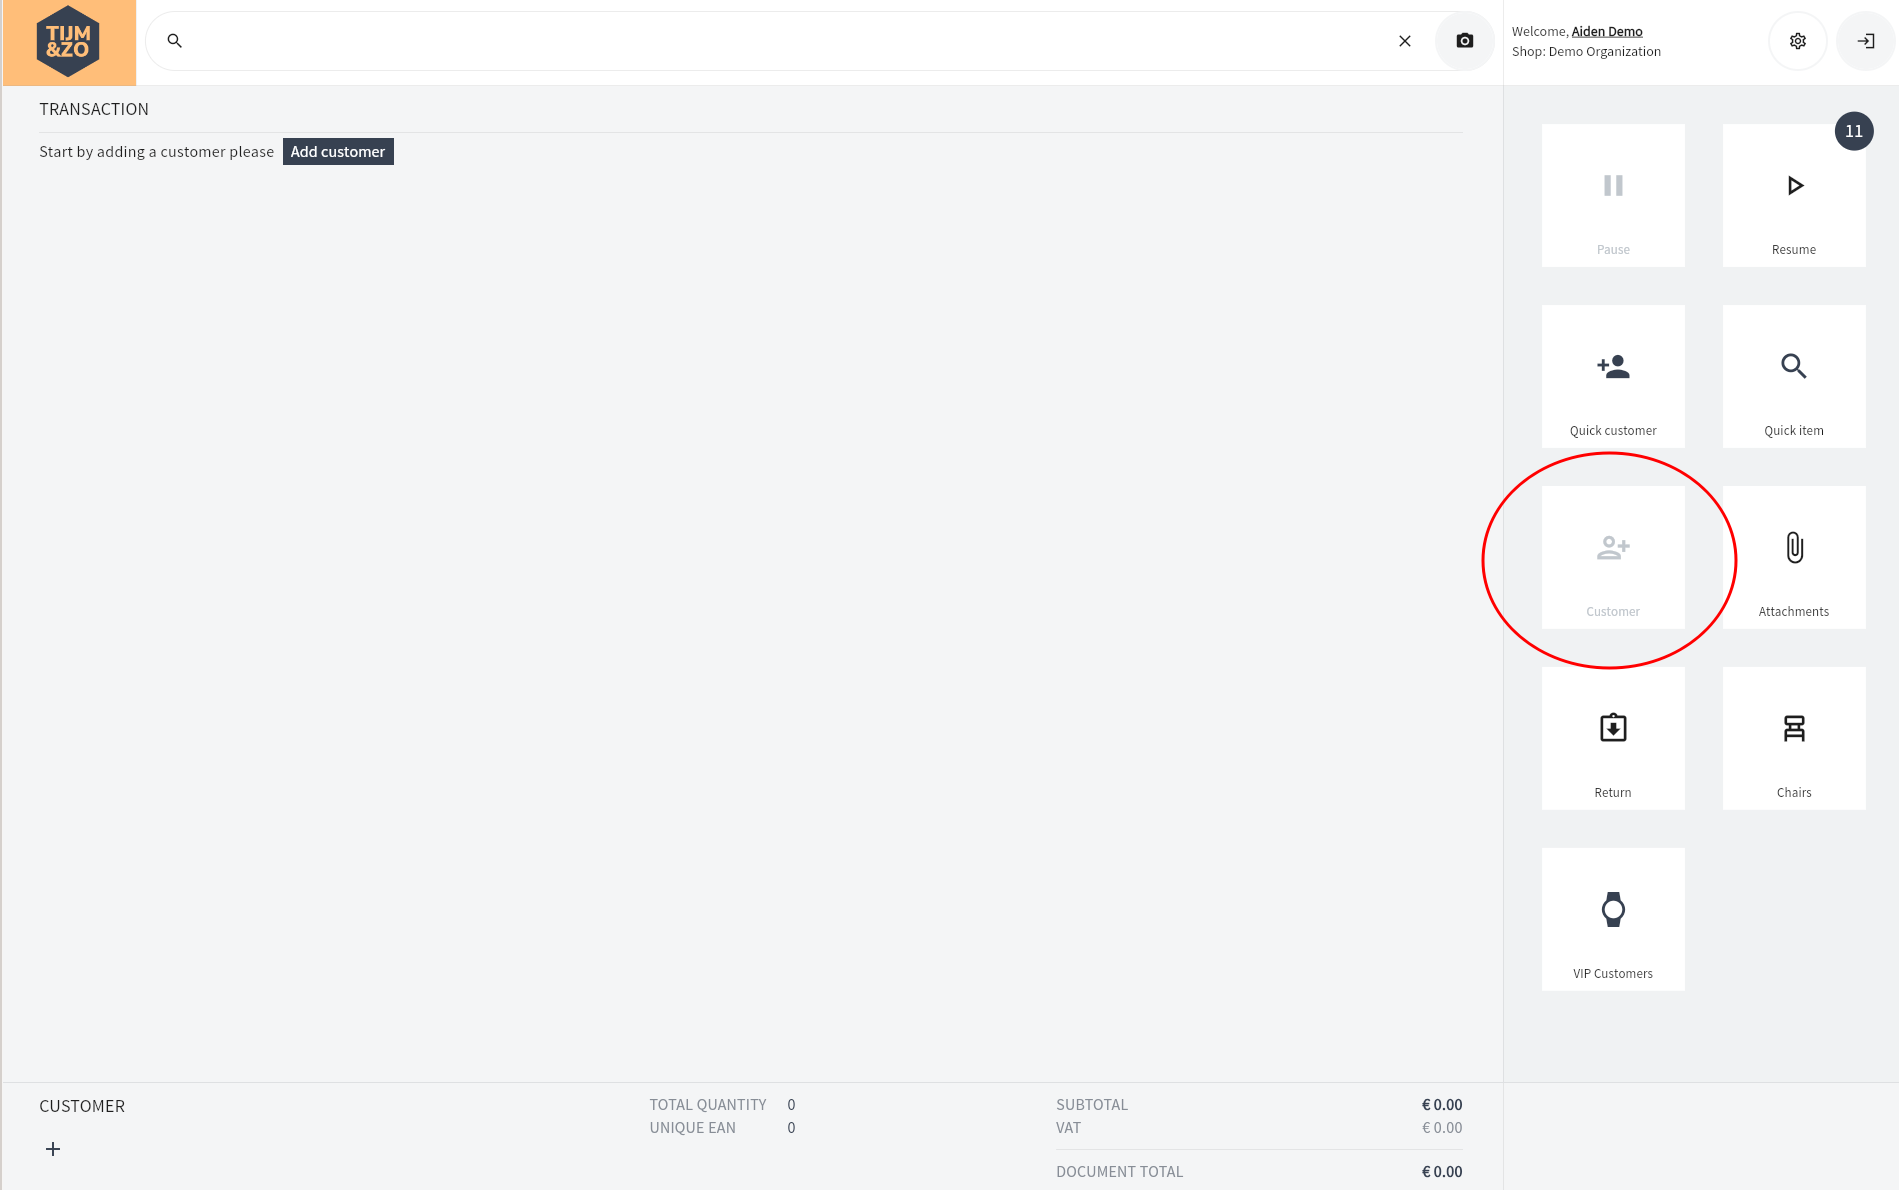
Figure 2: Selecting a customer from side menu
When you see hint text ‘Search customers…' you know you are going to select a customer obviously. You have three options to start selecting a customer:
Click the search icon on the left of the searchbar to open the customer select page which will show first 100 results for all found and active customers (see Figure 3). Any entered search terms are ignored when clicking this icon.
Press enter on the search bar without entering any search terms. This will have the same impact as clicking the search icon from above.
Enter a search term and press enter to open the customer select page which will show a maximum of 100 customers that matches the search term (see Figure 4)
By entering a search term that returns an unique customer. This customer will be added to the transaction automatically (Figure 6) without showing the customer result page and will clear entered searchterm in search bar.
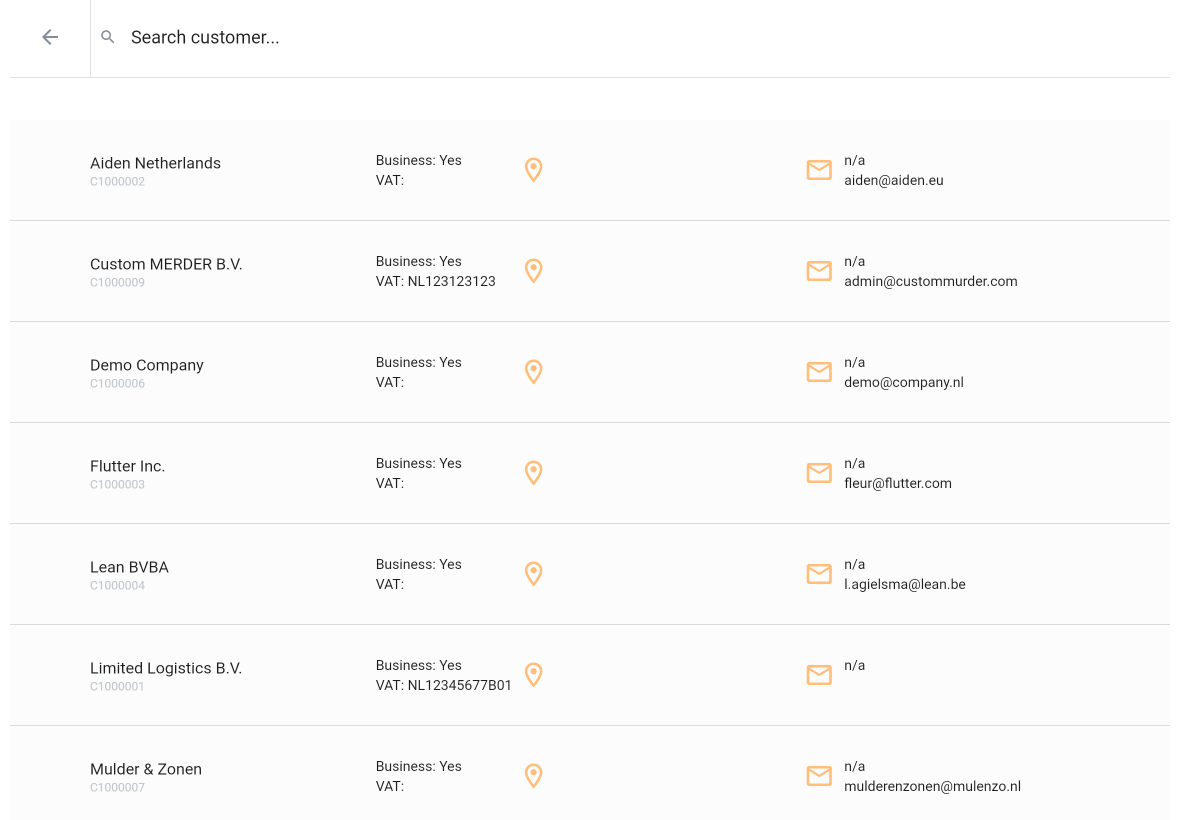
Figure 3: Customer Search without search string
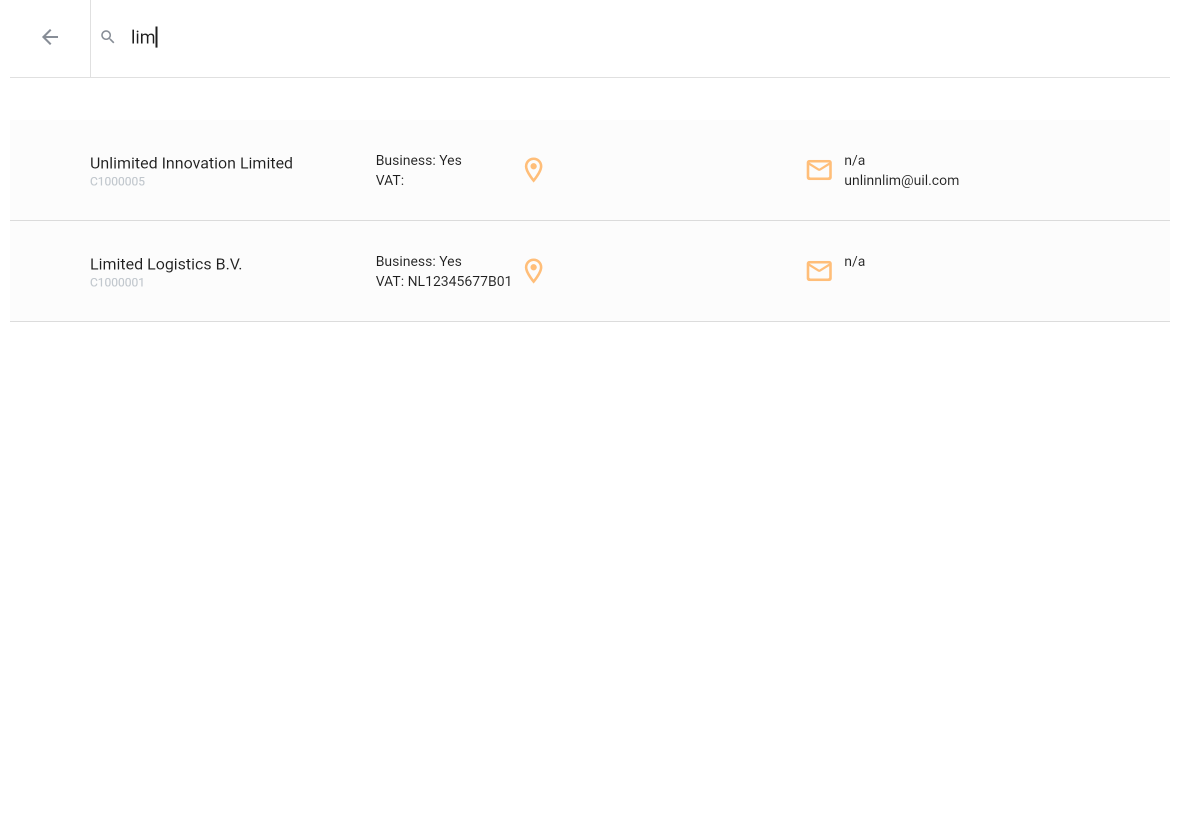
Figure 4: Customer Search with search term
Selecting from customer result page
After you have searched for customer with or without entering a searchterm and not one result is found, the customer result screen is showed (see Figure 3 and 4).
If you have entered a search term this search term is again showed on the customer result page in the top search bar (see Figure 4).
You can now select a customer by simply clicking the customer row.
If your search did not result in showing the customer you are looking for you can change your search term. After changing your search term the result list is updated automatically after a short delay.
Finally, after selecting a customer from the customer result page this customer is added to your transaction and the application navigates back to the main page (see Figure 5).
If you would like to delete a selected customer just click the trash bin icon or swipe the selected customer tile to the left or right (you have given the possibility to undo deleting from the info bar which will be showed at the bottom for 5 seconds after deleting a customer)
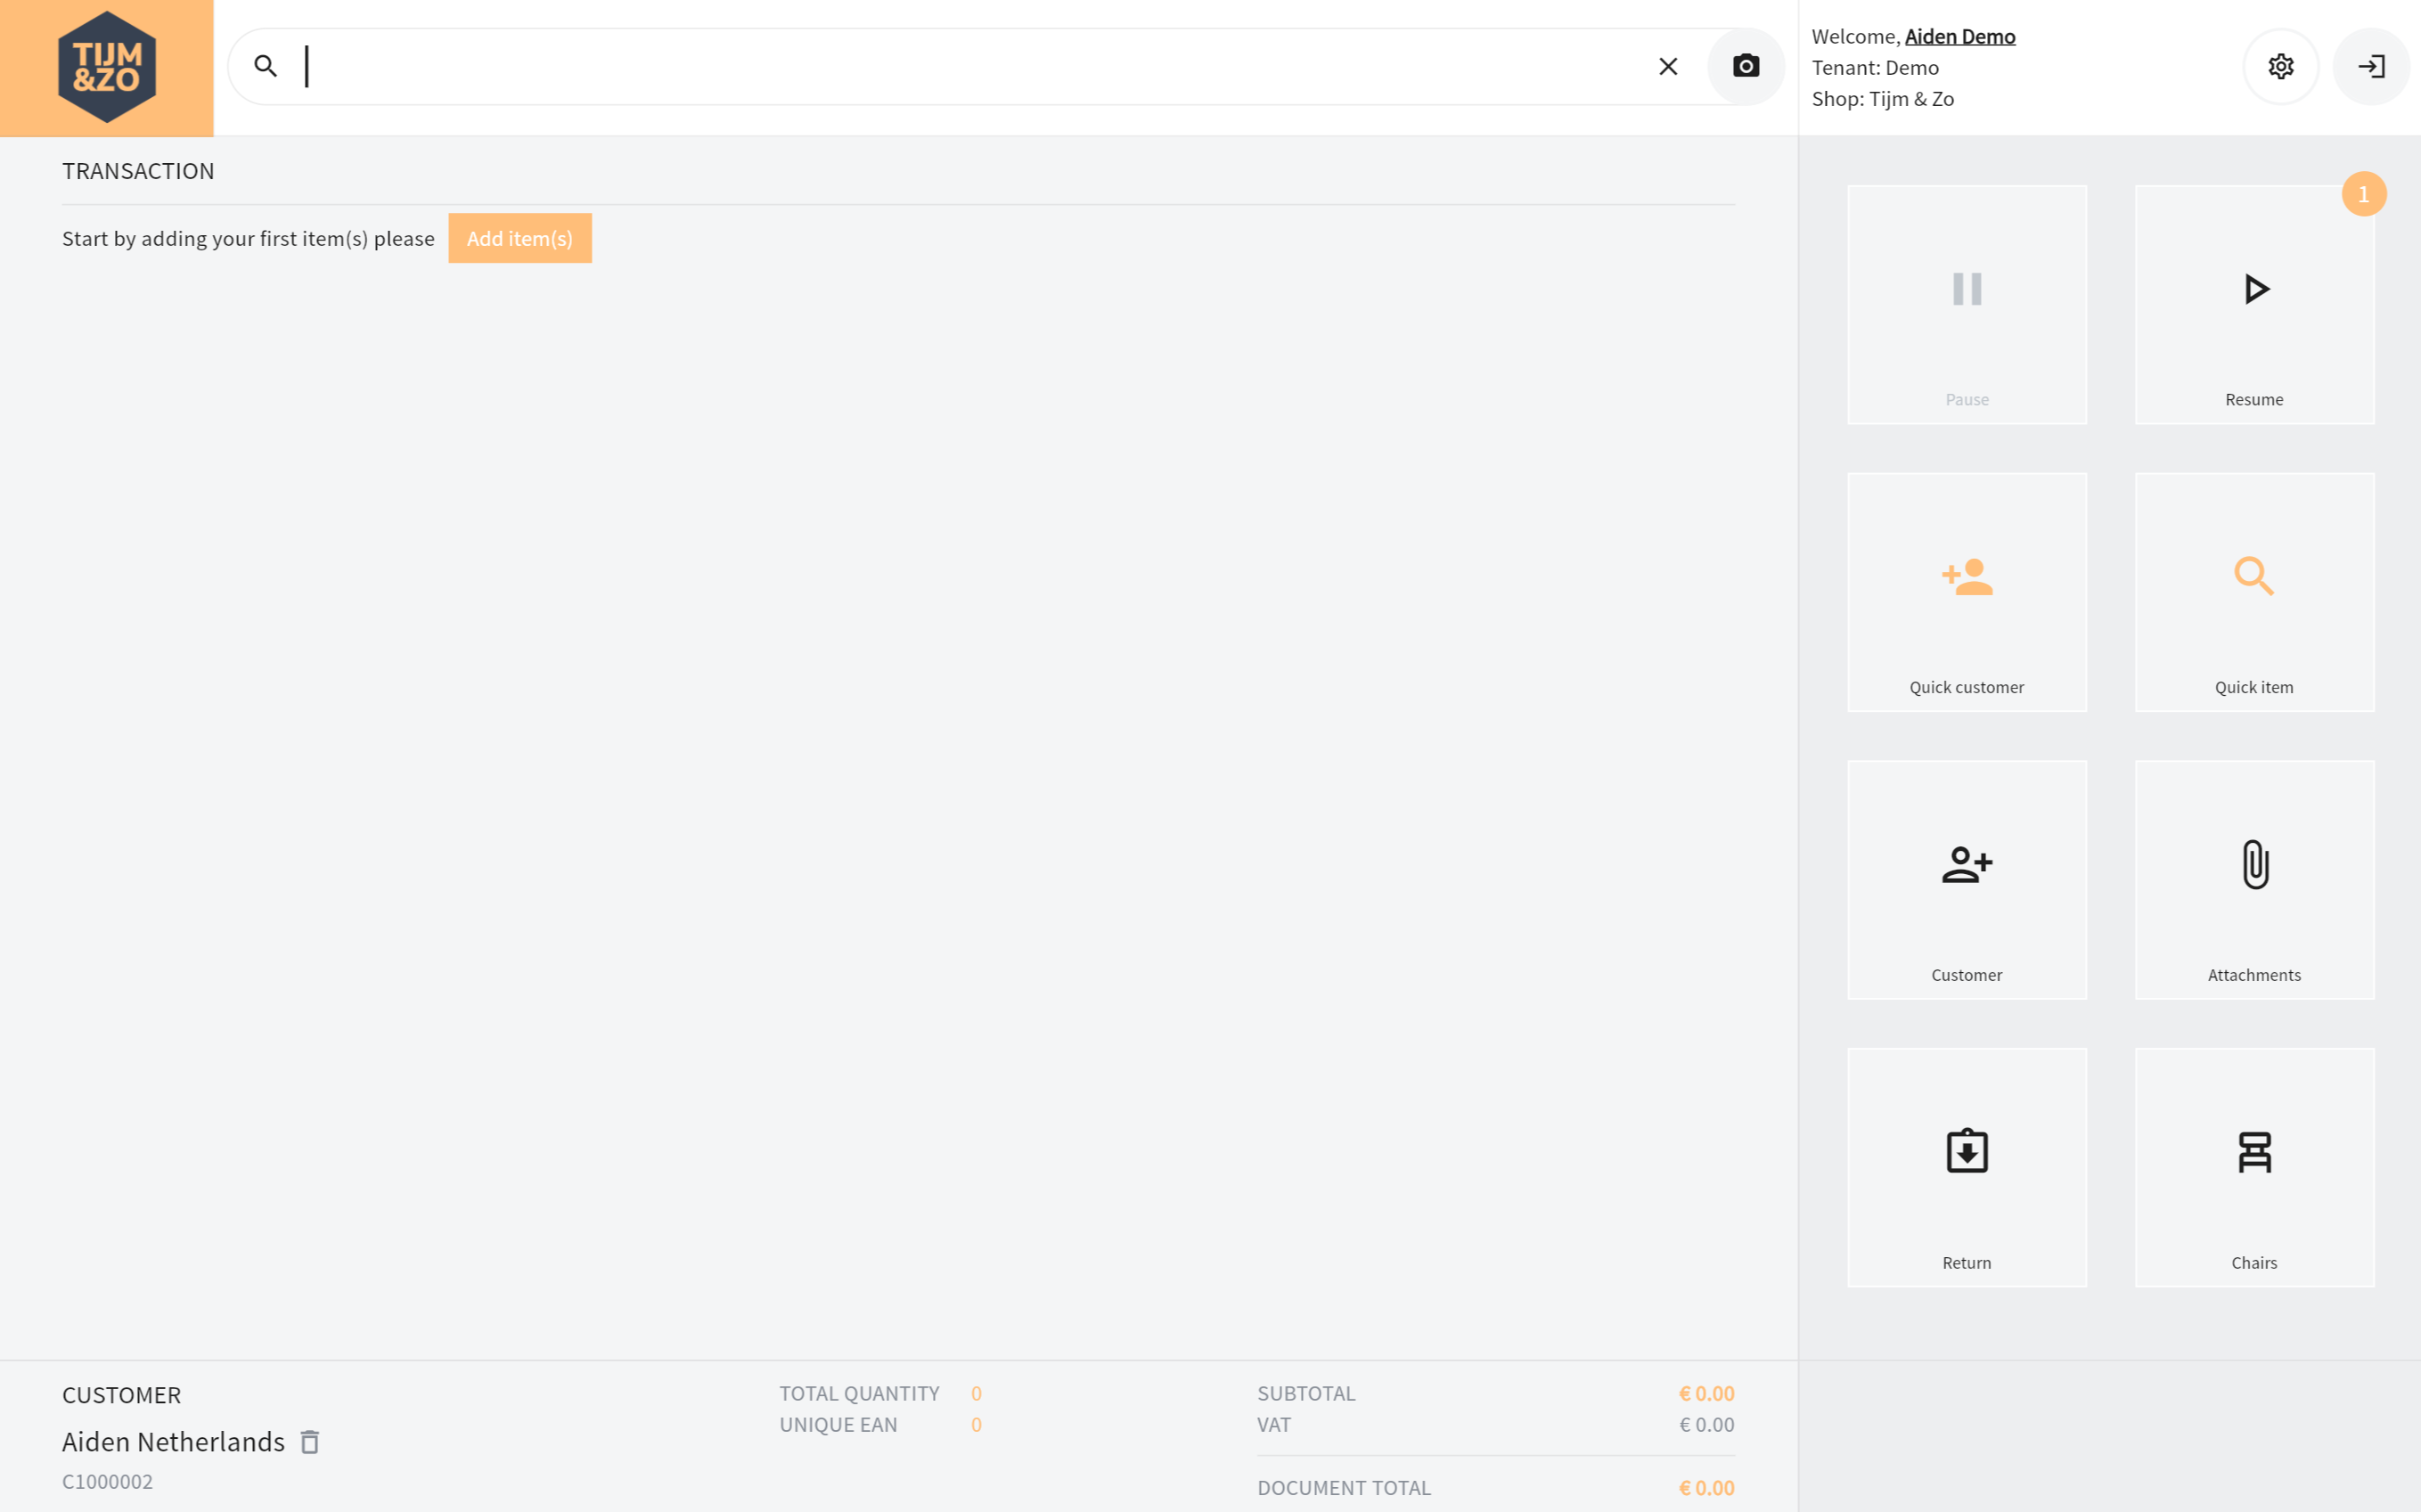
Figure 5. Customer is selected and added to main screen
Creating a customer
In the customer select screen, see Figure 6, a customer create button is available depending on store setting (). When clicked a new dialog is showed (see figure 7) where you can input customer details and save. When successful the customer is automatically added and your are routed to the main screen. The specific fields showed in the create customer form and whether or not mandatory can be configured in the integration portal. Mandatory fields are indicated with an asterix behind the name label.

Figure 6. Create customer button
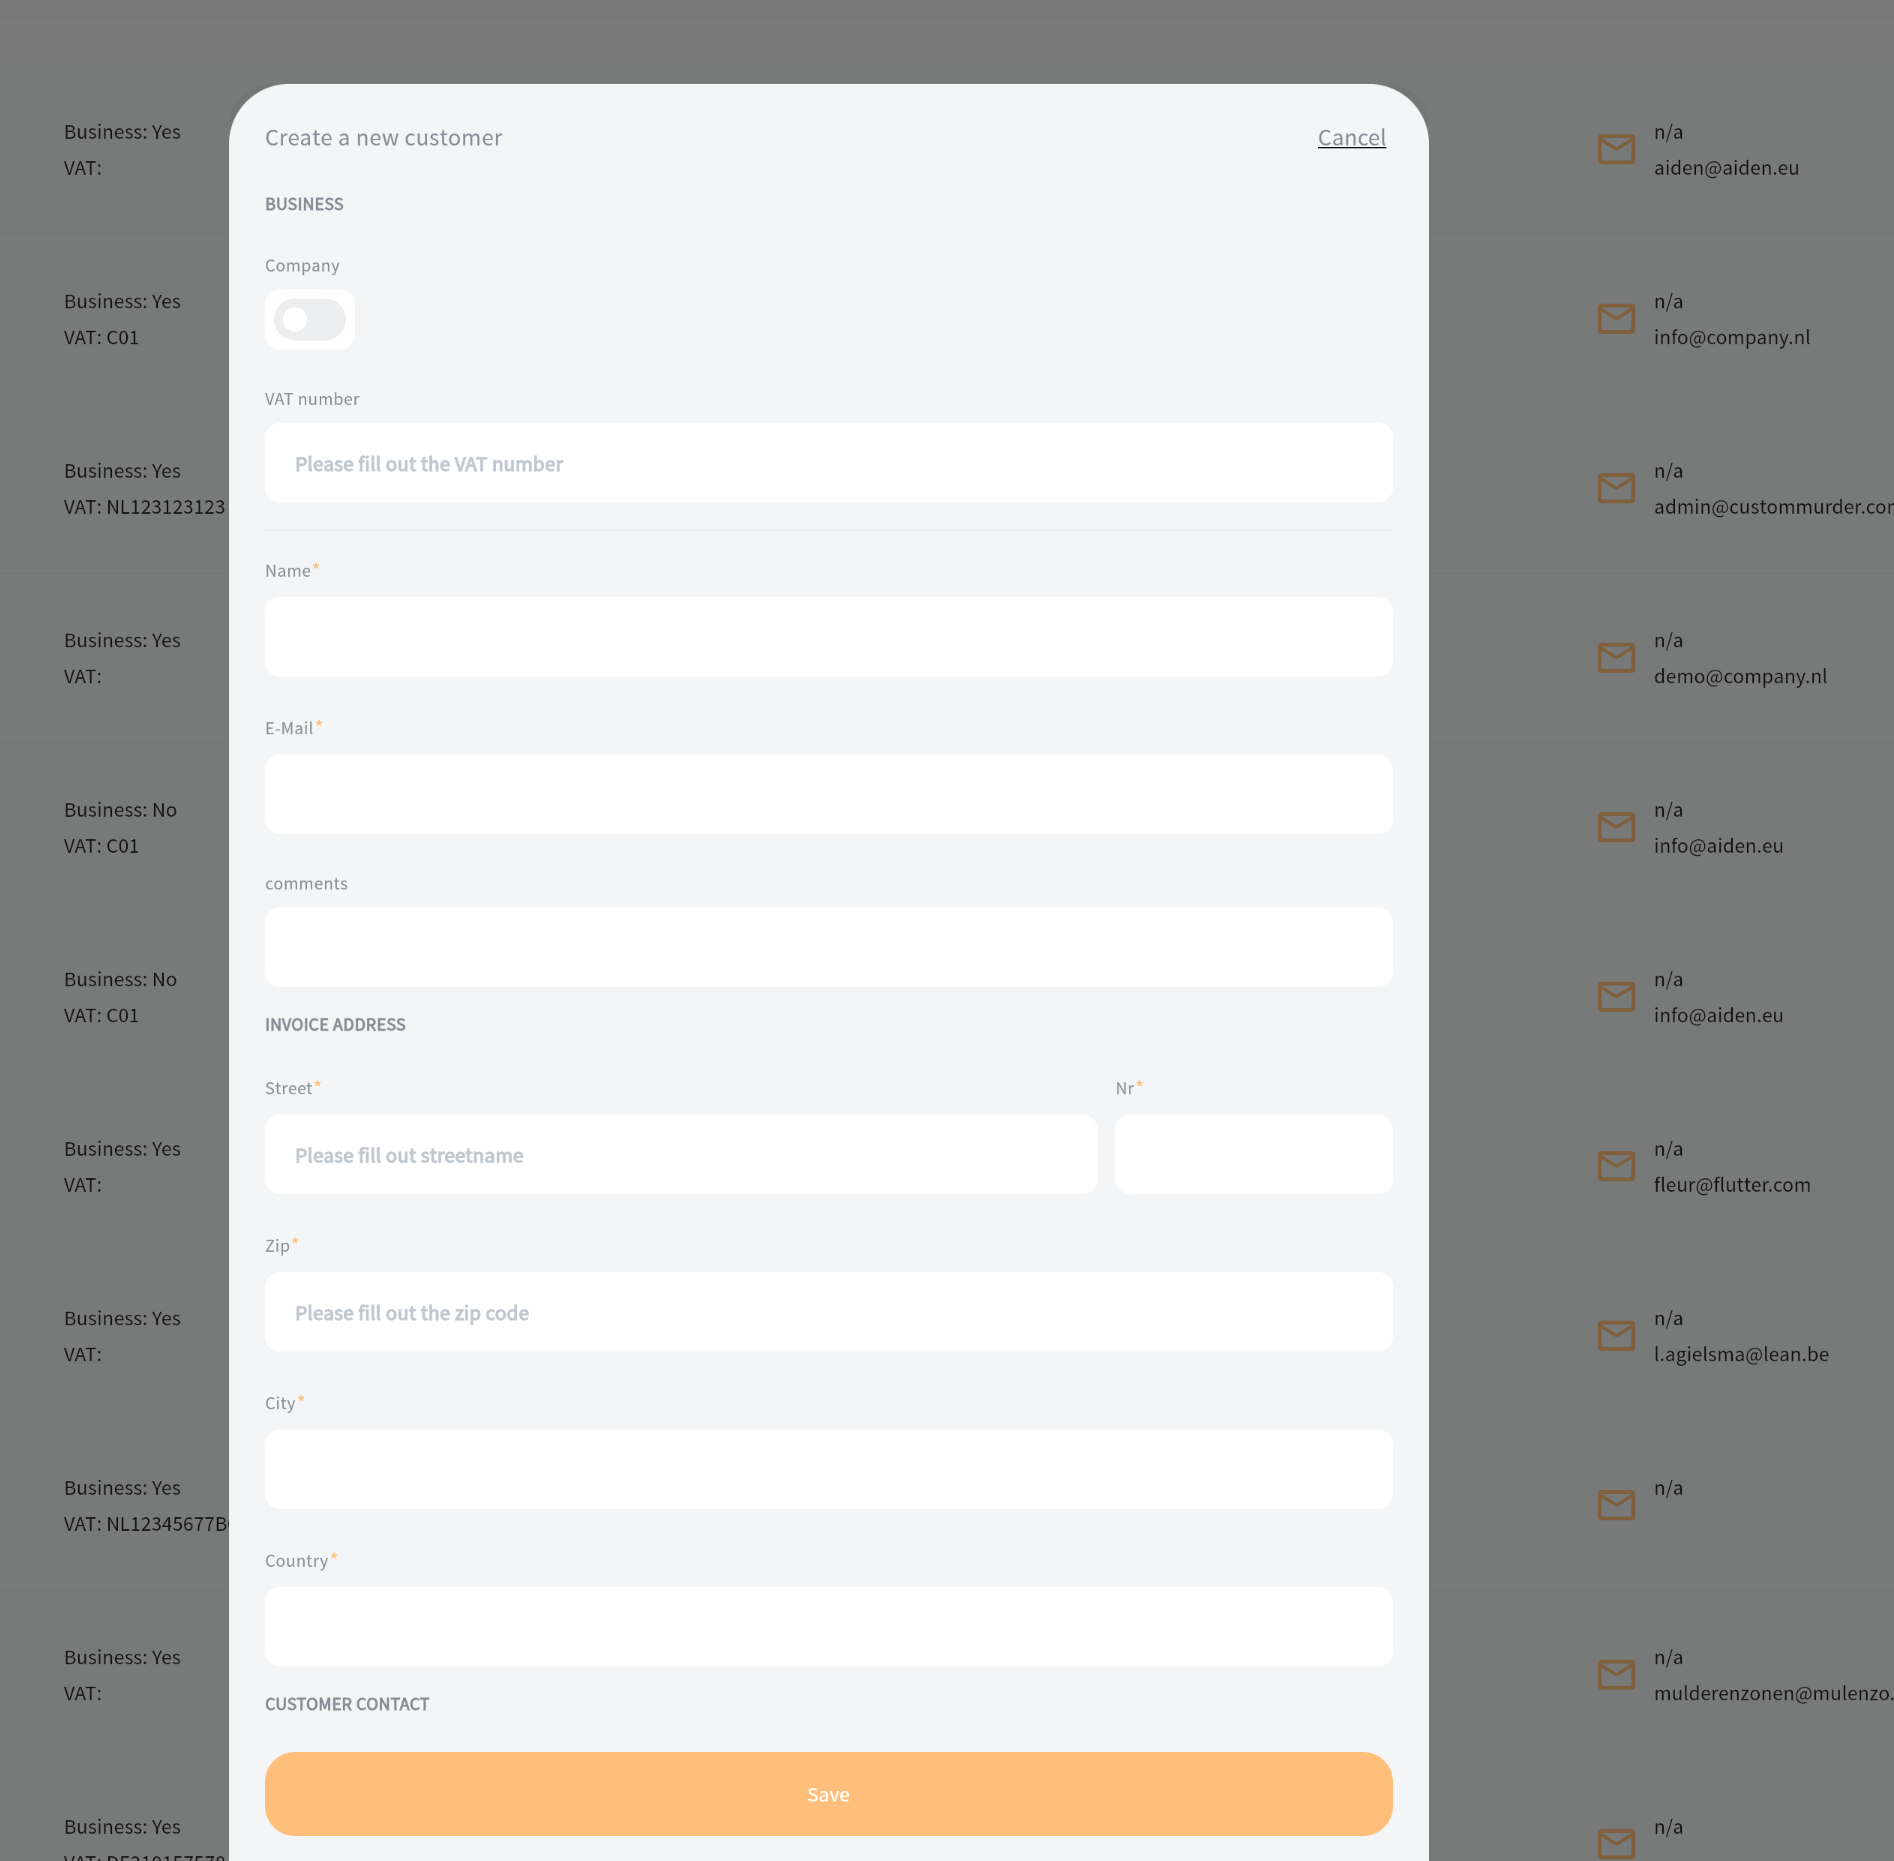
Figure 7. Create customer form